The Colors of the Stars
Many people and enthusiasts in the field are convinced that astronomical photography of the sky is quite difficult. This is true, I certainly don’t want to mislead you, but generalizing excludes the exceptions, which, although they may be rare, always exist.
In this article, I introduce to you one of the most unusual and spectacular exceptions in astronomical photography.
Stars have colors
Everything starts with a couple of simple questions: Do stars have different colors? Naturally, the answer is yes.
How can we admire the color of the stars? Simple: by observing them with the naked eye or, better yet, through a telescope.
Indeed, the color of the stars appears (almost) evident for the brightest ones, especially if they have reddish tones, but one soon realizes that apart from these very faint colorations, all the others seem the same.
The colors of stars in photography
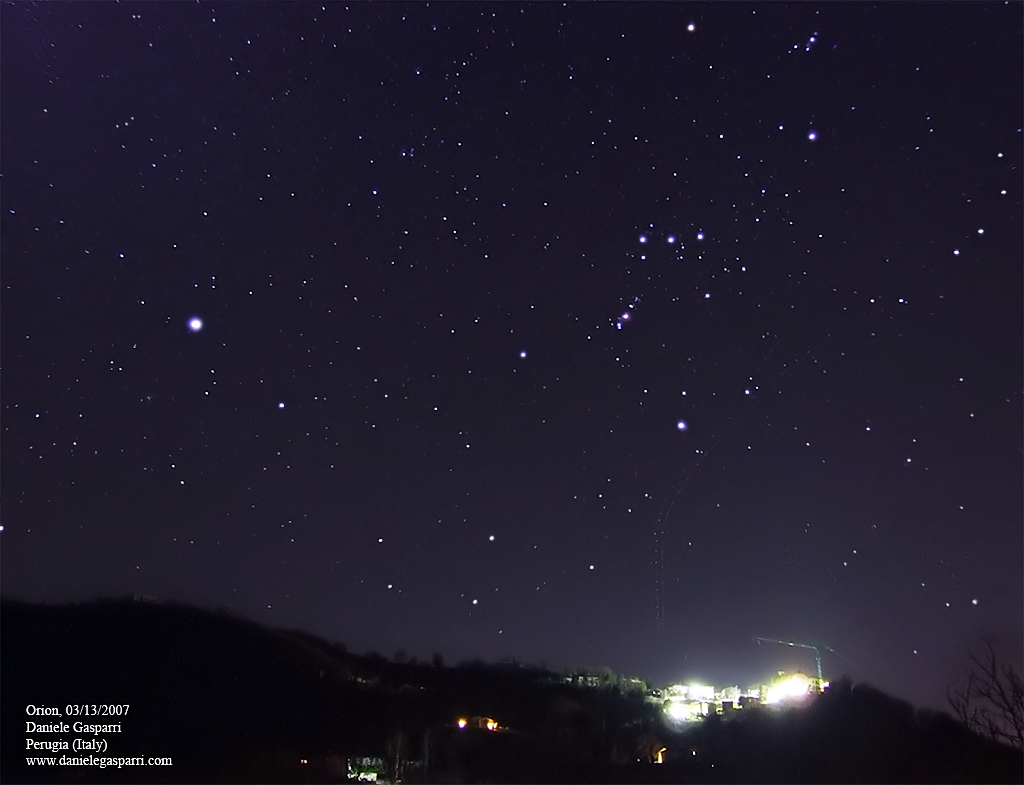
Is there a way to better observe the color of stars and overcome the main obstacle, which is the poor color sensitivity of the human eye in low light conditions? The answer lies in astronomical photography, but not as you might think. In fact, if we excitedly take a camera and capture a wide-field shot for about twenty seconds, we notice that, with a few exceptions, many stars stubbornly remain white, just as they are seen with the naked eye and as you can observe in the image below.

Things do not improve if we use a telescope and, with superhuman effort, obtain a nice shot of a field filled with many stars, with several minutes of exposure to highlight even the weakest components. To our great surprise, despite seeing many stars, very few show colors, and paradoxically, only the weaker, thus less noticeable ones. What is the problem in this case? Exactly the opposite of visual observation: the camera is too sensitive and the brighter stars saturate the sensor. What does this mean? Simply that the pixels of every digital sensor have a limit to the intensity of the signal they can record. When this limit is exceeded, the area occupied by the star becomes completely white, losing any information regarding color.
To obtain colored stars, we should not take long exposures that saturate the brighter components. However, if we take short exposures, we face the major flaw of cameras: the limited dynamic range. These two words identify the maximum range of brightness that a digital sensor can handle without reaching saturation.
I avoid delving into heavy technical issues, I only explain the result: it is very rare for a digital sensor to show us differences in brightness greater than 5-6 magnitudes (without some stars saturating). Consequently, if we take shots that are correct for the brighter stars, the other weaker ones are not visible at all, resulting in a dark and not at all spectacular image.
How to Photograph Star Colors
How can we best showcase the color of stars, even the fainter ones?
A simple and effective solution was found and applied by the Australian astronomer David Malin between the 80s and 90s. The technique involves taking an exposure without compensating for the Earth’s rotation, progressively blurring the image while the camera is capturing. In this way, the color of the fainter stars emerges when they are still in focus, just as we’ve seen happen in normal images, while the color of the brighter ones starts to appear when their blurred figure is so large that it no longer saturates the digital sensor. Simple and clear (at least I hope so!).
Therefore, showing the color of stars doesn’t require sophisticated equipment, powerful telescopes, or tracking systems costing thousands of euros. A simple lens, or at most a small telescope, and a star-filled field are the only necessary ingredients. The Earth’s motion helps in this case, moving the stars as they are defocused, producing striking colored cones.
I’ve experimented with this technique several times with my digital camera, and the result was simple, yet effective. I used a Sharpstar 106 mm f6.5 apochromatic refractor. I aimed at a couple of crowded star fields (which you’ll have to identify!), set the sensitivity to 800 ISO, and shot without activating the mount tracking. Then, during the exposure, with a gentle hand, I began to rotate the telescope’s focuser as consistently as possible. A minute and a few seconds of exposure is more than enough at this focal length to highlight the color of the stars. To successfully capture the photo, you must avoid vibrating the support when moving the focus and find the right balance between the length and width of the cones, that is, between the total length of the exposure and the speed at which the image is defocused. It only took me one attempt to get it right; by the second try, I had the first shot you can see a few lines below.
The processing was very simple. Personally, I increased the saturation by about 40% and slightly balanced the colors. When I said this is a pleasant exception in the field of astronomical photography, I was also including the processing phase!
Great, if you’ve made it this far, I’ll leave you with another snapshot: can you tell me which objects the colorful star trails in the photo below belong to?
